
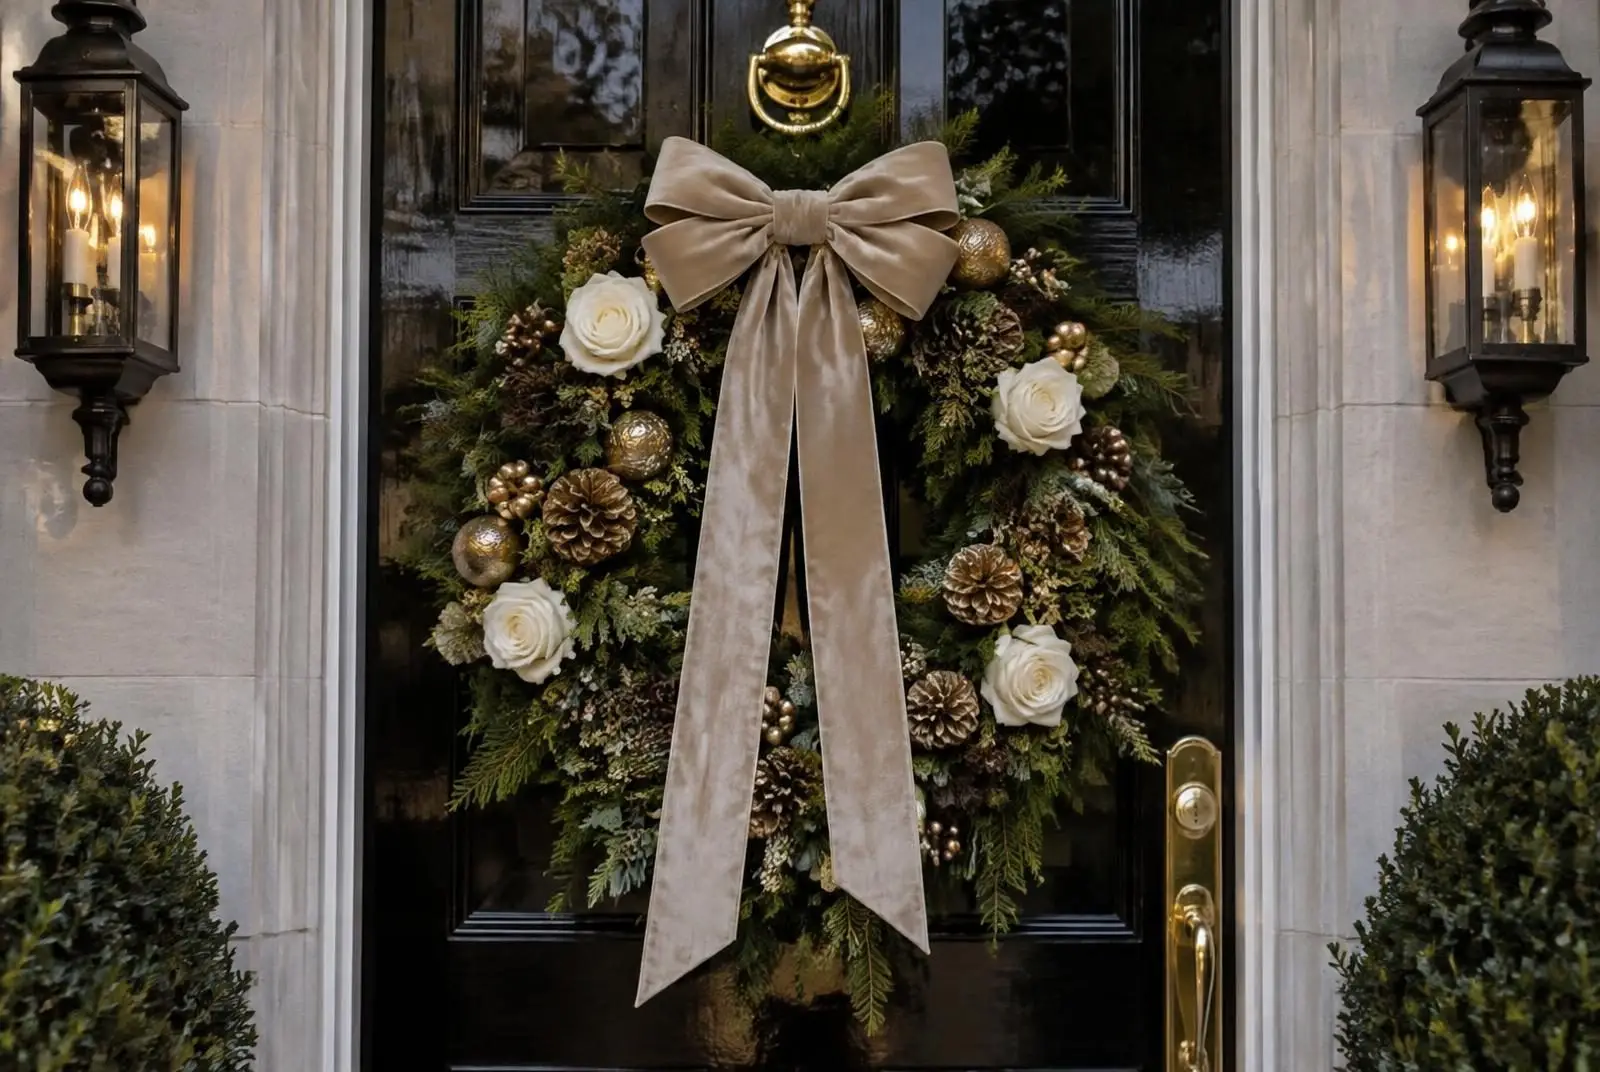
A plain artificial greenery wreath is a useful starting point for your first DIY Christmas wreath. Its existing branches provide coverage, so you can focus on arranging a bow, floral picks and a few accents. This guide uses removable ties to make adjustments easier and let you change the decoration next season.
Choose a base that fits your door
Measure the space where the finished wreath will hang, including room for the door to open and any storm door to close. The finished wreath may extend beyond the base once you add stems and ribbon. Check both diameter and depth before choosing your materials.
A wire frame or grapevine base needs a different building method and may require considerably more greenery. For this project, use an artificial wreath with enough existing foliage to hide attachment points.
Supplies checklist
- One plain artificial greenery wreath.
- Decorative picks or stems in two or three coordinating textures.
- Ribbon for a bow and tails; wired ribbon is easier to shape.
- Soft craft ties or floral wire, plus appropriate cutters.
- Fabric scissors, a protective work surface and a compatible wreath hanger.
Choose materials for the actual display location. A covered porch still receives humidity, wind and some moisture. Do not assume a faux stem, glitter finish or ribbon is outdoor suitable unless the manufacturer says so. Indoor materials are best kept indoors.
Plan your arrangement before attaching anything
Lay the wreath flat and choose one focal point: lower left, lower right or bottom center. Position the bow there temporarily, then arrange your largest picks around it. Let stems follow the curve of the wreath rather than point straight outward in every direction.
Take a quick phone photo of the loose layout. It gives you a reference while you secure the pieces. Start with fewer accents than you think you need; you can add more after viewing the wreath upright.
Step 1: Shape the greenery
Separate compressed branches gently and spread their tips to cover gaps. Turn the wreath as you work so one area does not become much fuller than another. Identify a firm structural part of the base for the hanging point, following the base manufacturer’s directions.
Step 2: Attach the largest picks
- Place your first pick beside the planned bow position, with the stem following the base.
- Fasten its stem to the wreath’s structure at more than one point if needed to prevent rotation.
- Keep cut wire ends turned inward and away from hands, the door and painted surfaces.
- Add another pick facing along the opposite side of the focal point.
- Cover visible ties with existing greenery.
Check that each attachment grips securely without crushing delicate stems. Do not rely on a decorative branch tip to support a heavy accent.
Step 3: Add smaller accents
Use berries, smaller florals or pinecone stems to connect the main pieces. Repeat a color in a few places so the wreath feels coordinated. Leave open greenery between clusters if you prefer an airy design. A fuller design needs more coverage, but it should still leave the bow and main accents easy to see.
Step 4: Make a simple loop bow
- Leave a tail, then fold the ribbon back on itself to make the first loop.
- Pinch the ribbon at the center and make a matching loop on the other side.
- Add another pair of loops if you want a fuller bow, keeping the center pinched.
- Secure the center with a soft tie or floral wire, then leave a second tail and cut the ribbon.
- Separate and shape the loops. Trim tails only after testing the bow on the wreath.
For one-sided ribbon, turn it at the pinched center as needed to keep the decorative face visible. Practice with an offcut first. Calculate ribbon from your test bow instead of assuming a fixed length fits every bow size.
Step 5: Attach and test upright
Fasten the bow to the structure of the wreath, conceal the tie and arrange its tails around the picks. Hang the wreath temporarily and check it from a few steps away. Secure any shifting pieces, then confirm that the hanger is suitable for the door and finished weight.
Troubleshooting
- The wreath leans: distribute heavy accents more evenly and check the hanging point.
- The bow disappears: bring it forward or reduce nearby stems.
- Ties show: redirect existing greenery over them.
- The door will not close: reduce depth or choose another display spot; do not force the door against decorations.
- Pieces move: add a second attachment to the supporting base.
Store it for another season
Remove the wreath carefully, check for loose ties and let it dry fully if exposed to moisture. Store it without crushing the bow. Removable accents can be packed separately and labeled so the arrangement is easy to recreate.
Keep decorating: tree ribbon techniques · beginner wreath tutorial · step-by-step tree decorating.
Plan your wreath project
Browse Christmas wreaths, floral picks and stems, ribbon and bows and DIY supplies. Read the individual listings for sizes, quantities and indoor or outdoor suitability.