
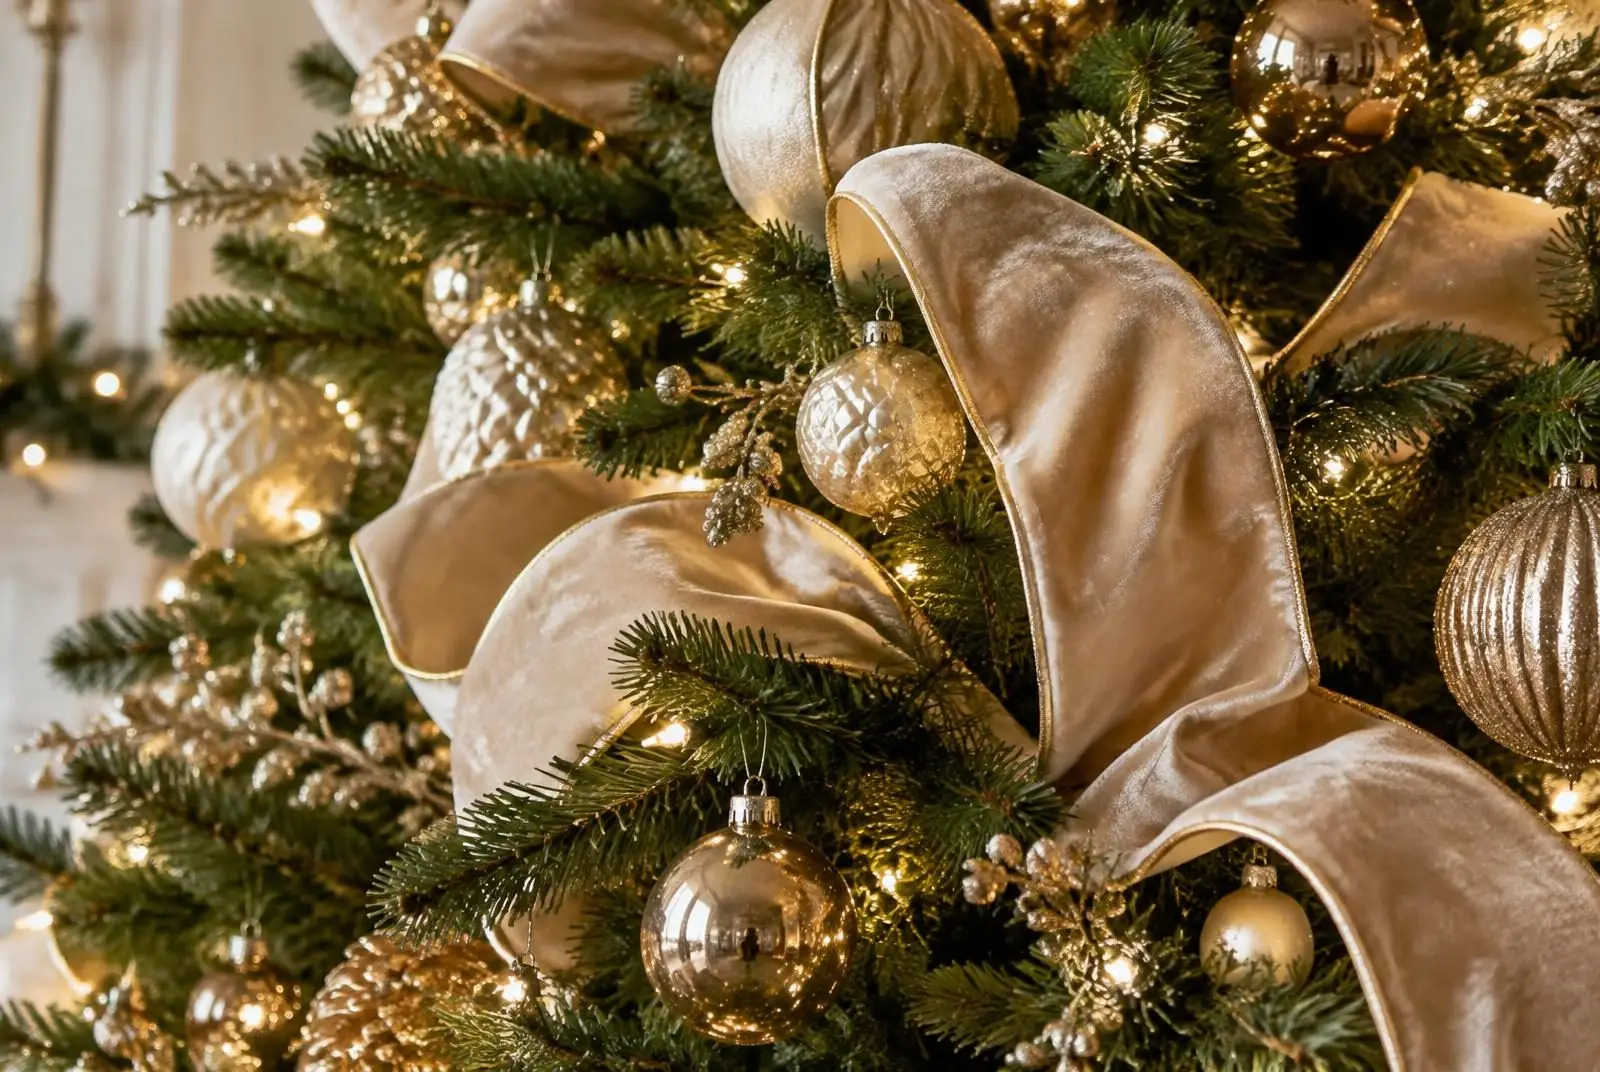
Ribbon gives a Christmas tree movement, color and texture. The easiest place to start is one small section: shape a few loops, step back, and repeat the effect you like. You do not need to wrap an entire roll around the tree to get a finished look.
Choose ribbon for the look you want
Wired ribbon is useful for rounded loops because its edges can be shaped. Unwired ribbon can work for soft drapes, narrow streamers or bows; it simply behaves differently. Check each product description for wired edges, width and roll length rather than assuming every decorating ribbon is wired.
For a traditional palette, try red with gold. Champagne and ivory create a softer look, while tartan adds pattern. If you combine two ribbons, let one carry the pattern and use a quieter color for the second.
Gather your supplies
- Your chosen ribbon, with its width and length noted.
- Scissors suitable for fabric and small, soft decorative ties.
- A stable step stool if needed to reach the upper branches.
- A place to keep offcuts for bows or small accents.
Estimate ribbon before cutting a whole roll
Tree height alone does not tell you how much ribbon you need. Width, fullness, visible sides and the size of your loops all matter. A tree against a wall may need less decoration at the back than a tree viewed from every side.
- Choose a ribbon technique below and decorate one representative section.
- Measure how much ribbon that section uses.
- Count how many similar sections you want across the visible tree.
- Multiply the sample length by the number of sections. Allow extra for tails, ties and adjustments.
For example, a test section using one yard repeated in twelve places needs about twelve yards before that extra allowance. This is a planning example, not a promise for every tree. Divide your planned total by the length per roll to work out how many rolls to buy.
Prepare the tree first
Set up the tree, shape its branches and check the lights before adding ribbon. Put ribbon in before most ornaments so you can reach into the branches. Turn off and unplug electrical decorations before adjusting them. Secure ribbon to branches, keeping ties away from wiring and light sockets.
1. Tucked ribbon sections: a manageable first project
- Leave the ribbon attached to the roll while you test a short section.
- Tuck the end into the greenery and secure it gently to a branch if needed.
- Bring the ribbon forward in a soft curve, then tuck it back into another branch.
- Make a second curve in a slightly different direction. Shape the edges without flattening the middle.
- Once you like the size, cut the section and hide its end. Repeat elsewhere, varying the placement rather than making identical rows.
Short sections are easy to move. If one area looks crowded, shift a single piece instead of unwinding the whole tree.
2. Cascading ribbon: soft vertical movement
Secure a strip near the top to a supporting branch. Let it travel downward, catching it in the greenery at intervals to create loose curves. Follow the tree’s widening shape as you descend. Begin with one cascade, then add others where they balance the view. Avoid pulling the ribbon straight and tight.
3. A diagonal wrap: a continuous path
Work from the upper branches downward in a relaxed spiral. Tuck the ribbon into the tree periodically so it has depth instead of sitting entirely on the outside. Leave space between passes for ornaments and greenery. A loose, open wrap is easier to adjust than a tight band.
4. Layered ribbon: combine texture and pattern
Place a narrower ribbon over a wider one, then treat the pair as a single section. Test whether they bend comfortably together before repeating the combination. If one slips behind the other, secure them together at the hidden tuck points. You can also alternate two ribbons in separate sections for a lighter effect.
Fix common ribbon problems
- Flat loops: loosen the tuck points and gently curve the wired edges.
- Visible cut ends: tuck them farther into the greenery or cover them with an ornament.
- Slipping sections: use a soft tie on a supporting branch rather than tightening ribbon against lights.
- Too much ribbon: remove a few sections and leave more greenery visible.
- Uneven color: view the tree from the room’s entrance and move a few sections before adding more.
Finish with ornaments
Add ornaments around the ribbon, leaving its curves visible. Keep your favorite ornaments where they can be seen, and save ribbon offcuts for small bows or gift wrapping.
Keep decorating: tree ribbon techniques · beginner wreath tutorial · step-by-step tree decorating.
Find your decorating supplies
Explore Christmas ribbon and bows, ornaments and Christmas trees. Check each item’s dimensions, materials and variation options before ordering.