Posted on — Leave a comment

How to Choose the Perfect Artificial Christmas Tree

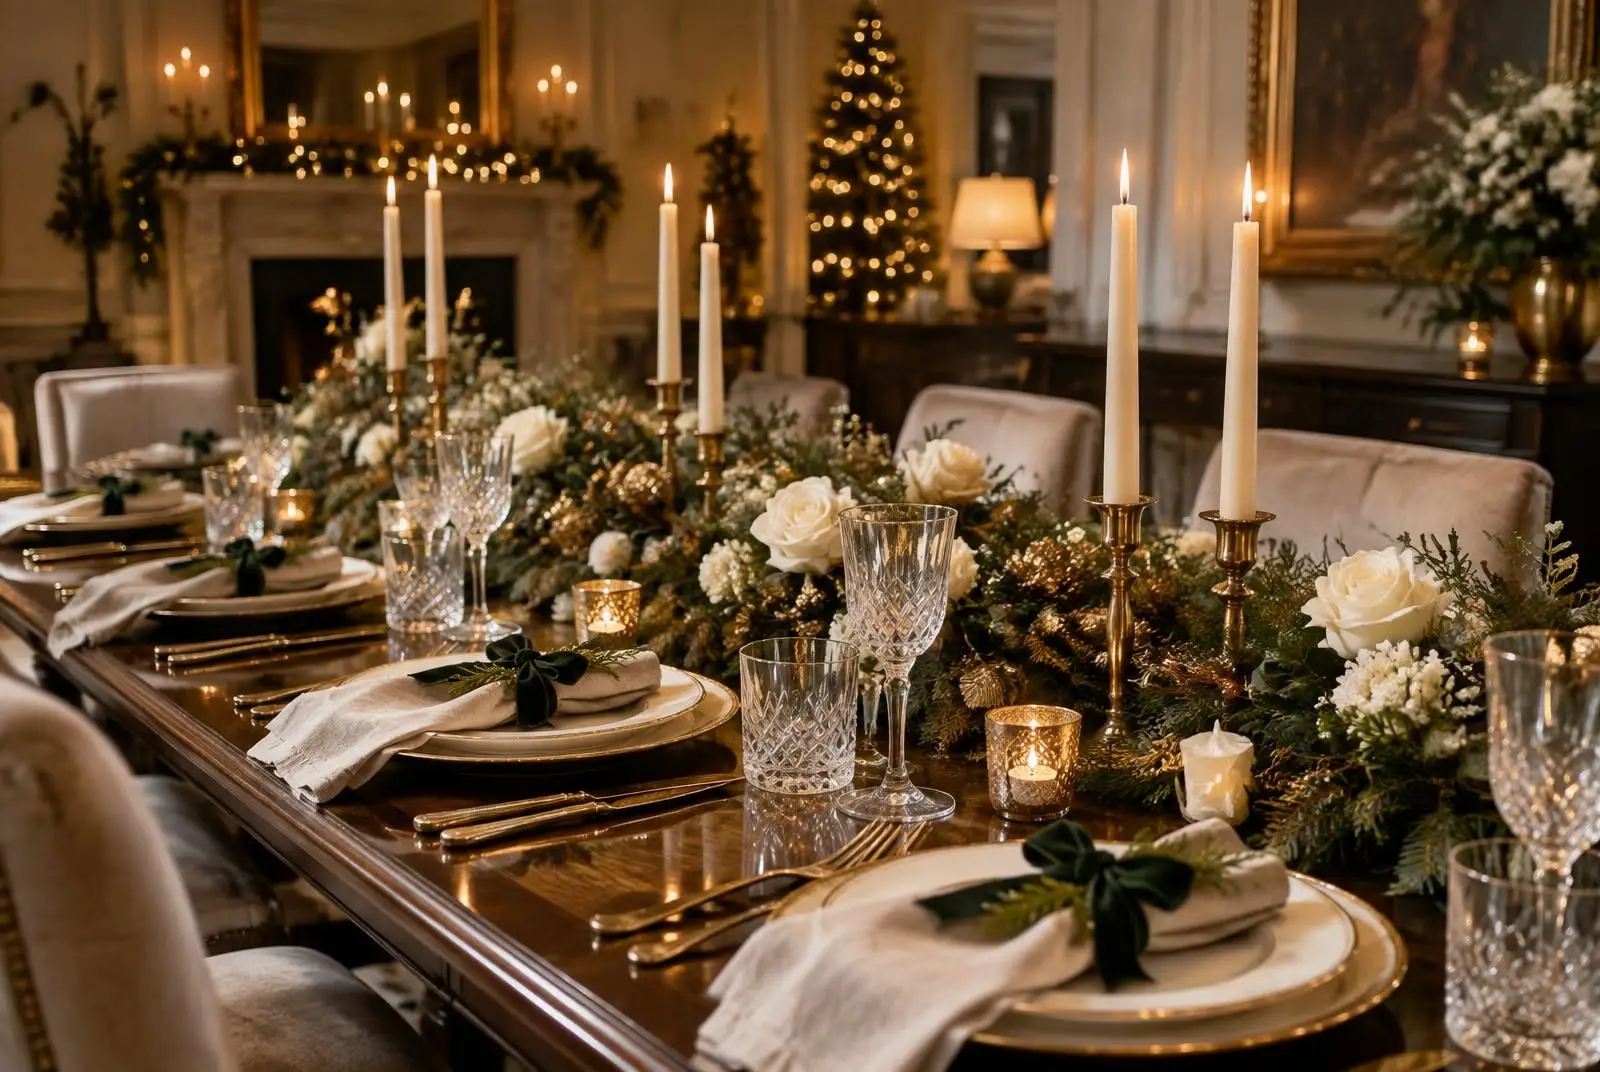
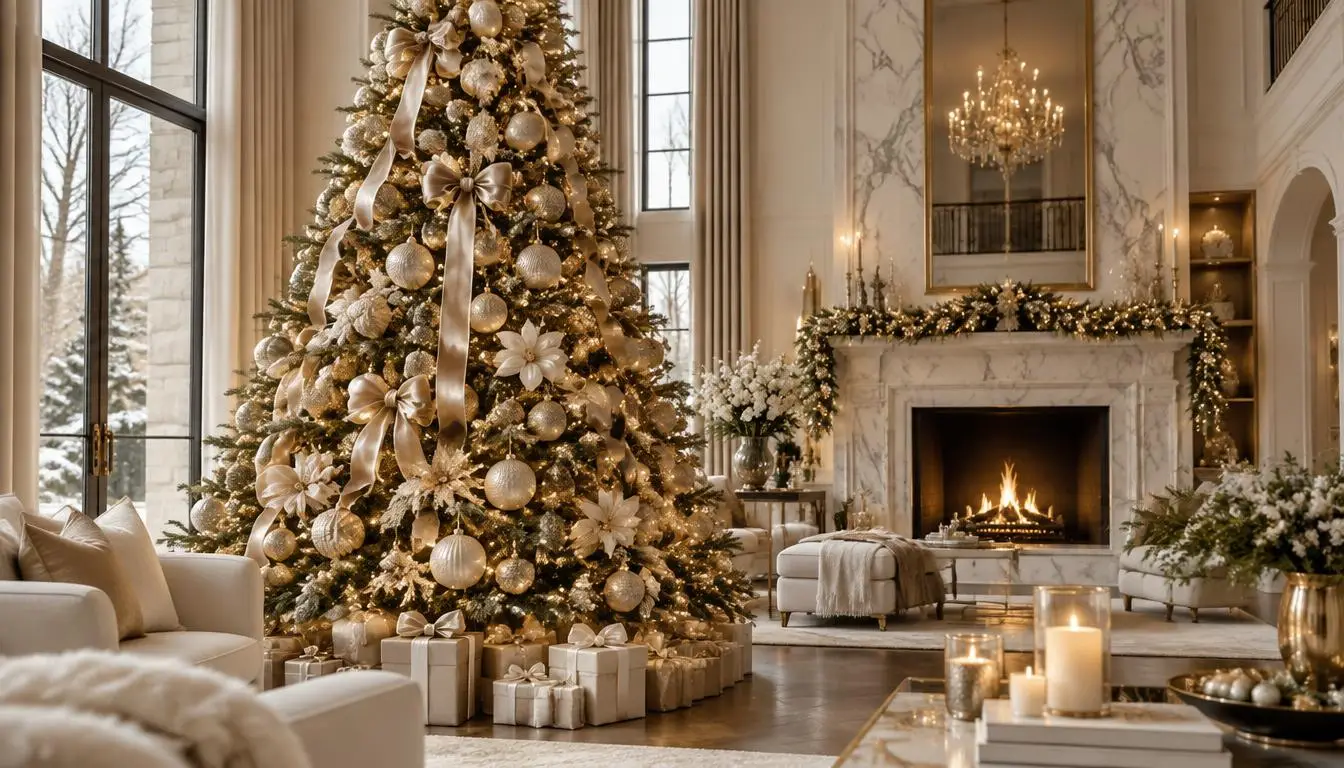
A beautiful artificial Christmas tree is an investment you’ll enjoy for a decade or more — so it’s worth choosing well. The difference between a tree that looks convincingly real and one that looks like a prop comes down to a few details most shoppers never think to check. Here’s exactly what to look for.

Measure Your Space First

Before you fall in love with a tree online, measure. For height, leave at least 6 to 12 inches between the top of the tree (including your topper) and the ceiling. A 7.5-foot tree suits most rooms with 8 to 9-foot ceilings. For width, measure the floor space where the tree will stand and subtract a foot — trees look wider once fluffed, and you’ll want room to walk around it. Slim and pencil trees are perfect for corners and smaller rooms.

Understand Needle Types: PE vs. PVC

This is the single biggest factor in how real a tree looks. PVC needles are flat, papery strips — affordable, but obviously artificial up close. PE (polyethylene) needles are molded from real branch clippings, so they have three-dimensional shape and natural variation. The best trees mix both: PE tips on the outer branches where eyes land, PVC inside for fullness. Look for a high “tip count” relative to height — a 7.5-foot tree with 2,000+ tips will look full and lush.

Pre-Lit or Unlit?

Pre-lit trees save enormous time, and modern versions use long-lasting LED lights with connections built into the trunk sections, so there’s no hunting for plugs. Choose warm white for a classic, elegant glow. If you love the ritual of stringing lights — or want the freedom to change your light style year to year — an unlit tree gives you that flexibility. Either way, our step-by-step tree decorating guide shows you how to get a professional finish.

Consider Flocked, Frosted, or Classic Green

Classic green is timeless and works with every decorating style. Flocked trees — dusted to look snow-covered — photograph beautifully and suit Scandinavian and winter wonderland themes, though they do shed a little. Frosted trees sit in between, with just a light kiss of white on the branch tips.

Check the Practical Details

Hinged branches (attached permanently, folding down for storage) beat hook-in branches for setup speed. A sturdy metal stand is non-negotiable. And look for a tree that comes with a storage bag, or plan to buy one — proper storage is what makes a tree last. Our guide to storing Christmas decorations covers how to pack a tree so it fluffs up perfectly next year.

The Bottom Line

Spend the most you can comfortably afford on the tree itself — it’s the centerpiece of your entire holiday home — and save on ornaments instead. A high-quality tree with simple, coordinated decorations always looks more expensive than a cheap tree buried in decor. Explore our Christmas shop for trees, toppers, ribbons, and ornaments to complete your look.

Shop the Look

Find everything you need for this look in the Everything Christmas collection: Christmas Trees · Tree Collars · Tree Skirts.
Posted on — Leave a comment

Christmas Porch and Entryway Decorating Ideas That Welcome Guests in Style

Your porch and entryway set the tone for everything inside your home. Before guests ever see your tree or your mantel, they see your front door — and a thoughtfully decorated entrance tells them something special is waiting. The good news: a beautiful Christmas porch doesn’t require a designer’s budget, just a designer’s eye for a few key elements.

Start with the Door: Wreaths and Garland

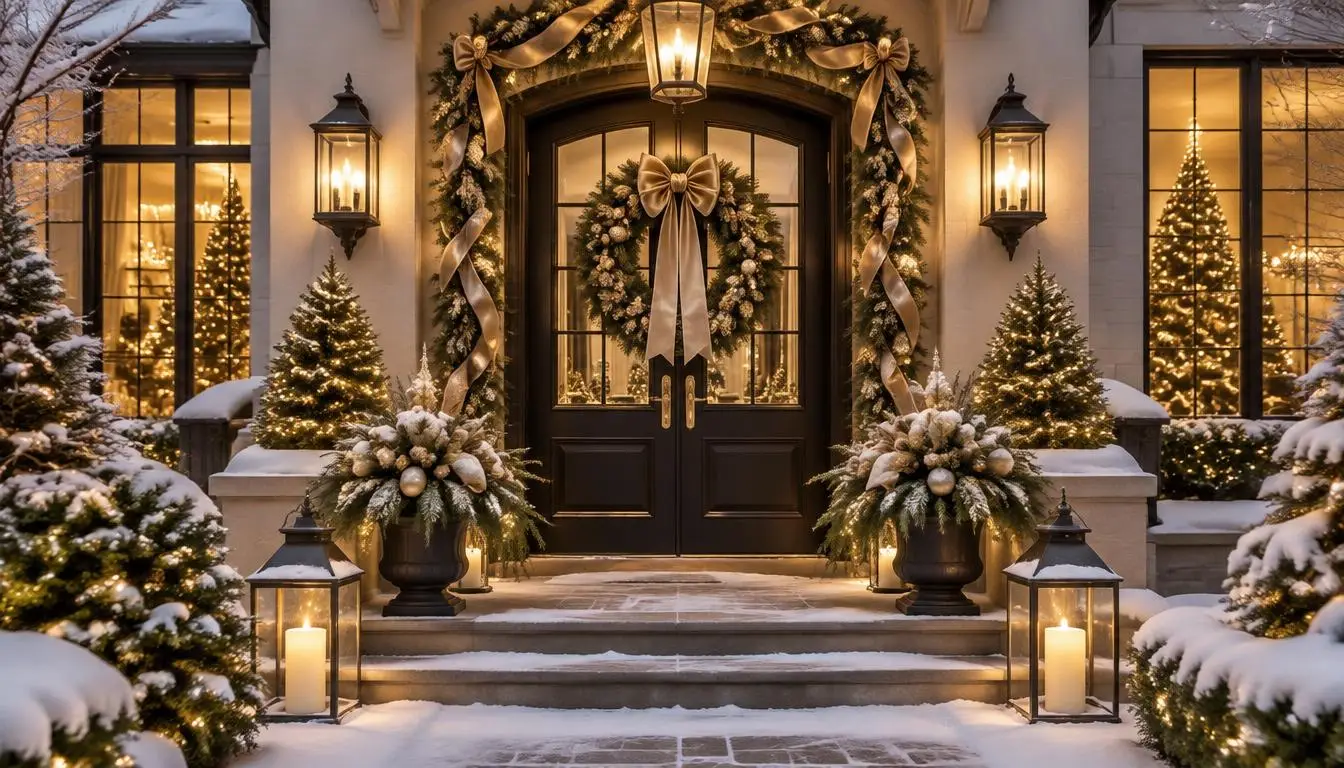
The front door is your focal point. A full, lush wreath — whether fresh cedar, flocked pine, or a mix of greenery with berries and ornaments — anchors the whole look. If you want to make your own, our step-by-step wreath tutorial walks you through it.

Frame the door with garland next. Drape it around the doorframe, securing it with removable outdoor hooks, and weave in warm white lights. For an upscale finish, add wide ribbon in champagne, ivory, or deep emerald — our guide on making a perfect Christmas bow will help you finish the look.

Layer in Lanterns and Light

Lighting is what separates a nice porch from a magical one. Group lanterns of varying heights on either side of the door and fill them with flameless candles on timers, so they glow automatically at dusk. Add warm white string lights to railings, columns, and any planters. Stick to one light color — mixing warm and cool white is the most common mistake, and warm white always reads more elegant.

Don’t Forget the Planters

Your summer planters can work all winter. Fill them with a mix of evergreen clippings, birch branches, pinecones, and a few oversized ornaments. This “winter pot” approach looks abundant and expensive but costs very little if you clip greenery from your own yard or ask a tree lot for trimmings.

Create a Welcoming Entryway Inside

Carry the look through the front door. A small tree, a styled console table, or a garland along the staircase banister makes the transition feel intentional. If you have a staircase, garland with ribbon and lights along the banister is one of the highest-impact decorations in any home — see our garland decorating ideas for exactly how to do it.

A Simple Formula That Always Works

If you’re not sure where to begin, use this formula: wreath on the door, garland around the frame, two lanterns, two filled planters, and one doormat with a seasonal message. Five elements, one cohesive look. Choose two or three colors — we love champagne, ivory, and forest green — and repeat them in every element for a polished, pulled-together result.

Ready to dress up your entrance? Browse our Christmas shop for wreaths, garlands, lanterns, and ribbon that make it easy.

Shop the Look

Find everything you need for this look in the Everything Christmas collection: Christmas Wreaths · Christmas Garlands · Christmas Lights.

Posted on — Leave a comment

Christmas Floral Arrangements: How to Make a Holiday Centerpiece

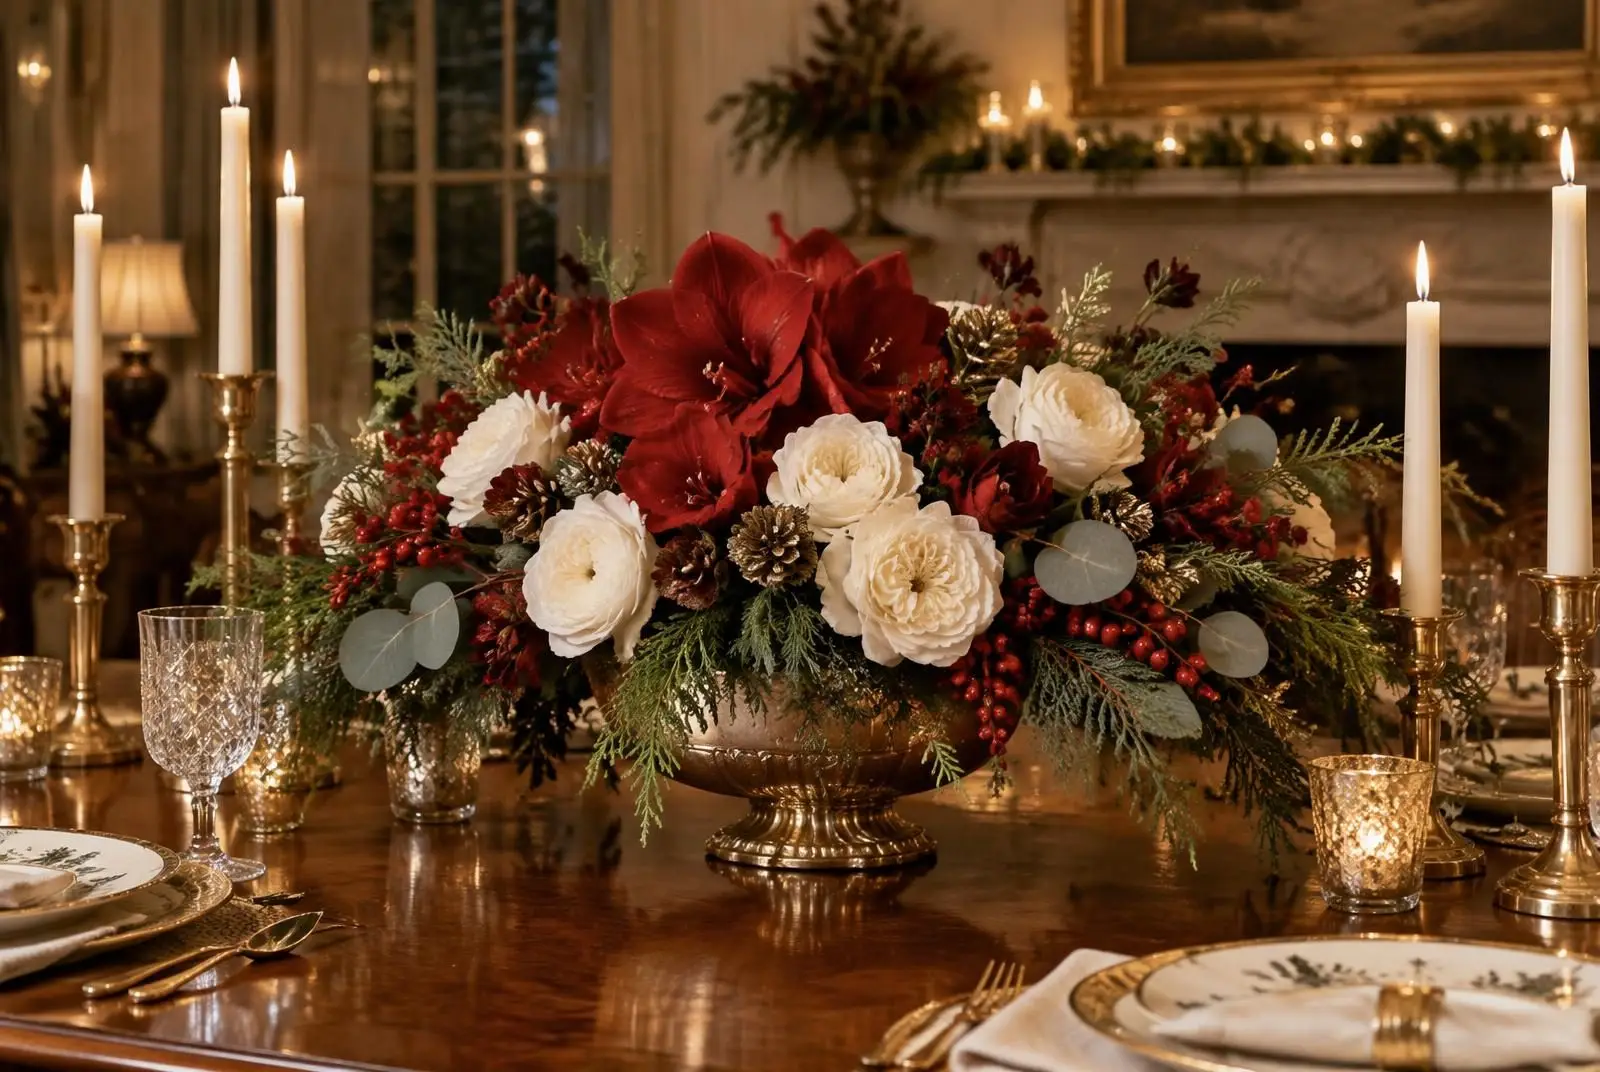
Christmas floral centerpiece with red amaryllis, white roses and greenery in a gilded bowl

A Christmas floral arrangement brings color to a table, entry, or mantel. This guide works with fresh flowers, faux stems, or a mix of both.

Supplies

  • A low container, bowl, or wooden box
  • Floral foam (soaked for fresh, dry for faux) or a chicken-wire ball
  • Greenery: pine, cedar, eucalyptus, or boxwood
  • Focal flowers: roses, amaryllis, peonies, or ranunculus
  • Accents: berries, pinecones, cotton stems, or ornaments on picks
  • Floral shears and wire

Step 1: Build a Greenery Base

Insert greenery around the edges first, angled outward and slightly down, then fill the center. Aim for an even, rounded or long low shape.

Step 2: Add Focal Flowers

Place 3 or 5 focal blooms in a loose triangle. Cut stems at an angle; for fresh flowers, push them firmly into wet foam.

Step 3: Fill In

Add smaller flowers and filler stems to cover gaps and foam.

Step 4: Accents

Wire pinecones or ornaments onto picks and tuck them in, along with berry stems for color.

Keeping Fresh Arrangements Alive

  • Top up water in the foam daily.
  • Keep away from heat vents, fireplaces, and direct sun.
  • Choose long-lasting flowers like carnations, chrysanthemums, and alstroemeria.

Safety Note

Some holiday plants, such as poinsettia, holly berries, mistletoe, and amaryllis, can be harmful to pets or children if eaten. Choose faux versions or place arrangements out of reach.

Faux Arrangements

Faux stems can be reused every year and mixed with a few fresh greens for scent.

More Ideas

Set your table with our budget Christmas table guide, add a handmade bow, or browse florals and accents in our Christmas shop.

Shop the Look

Find everything you need for this look in the Everything Christmas collection: Floral Picks · DIY Craft Supplies · Table Decorations.

Posted on — Leave a comment

How to Make a Christmas Bow with Wired Ribbon (Easy Method)

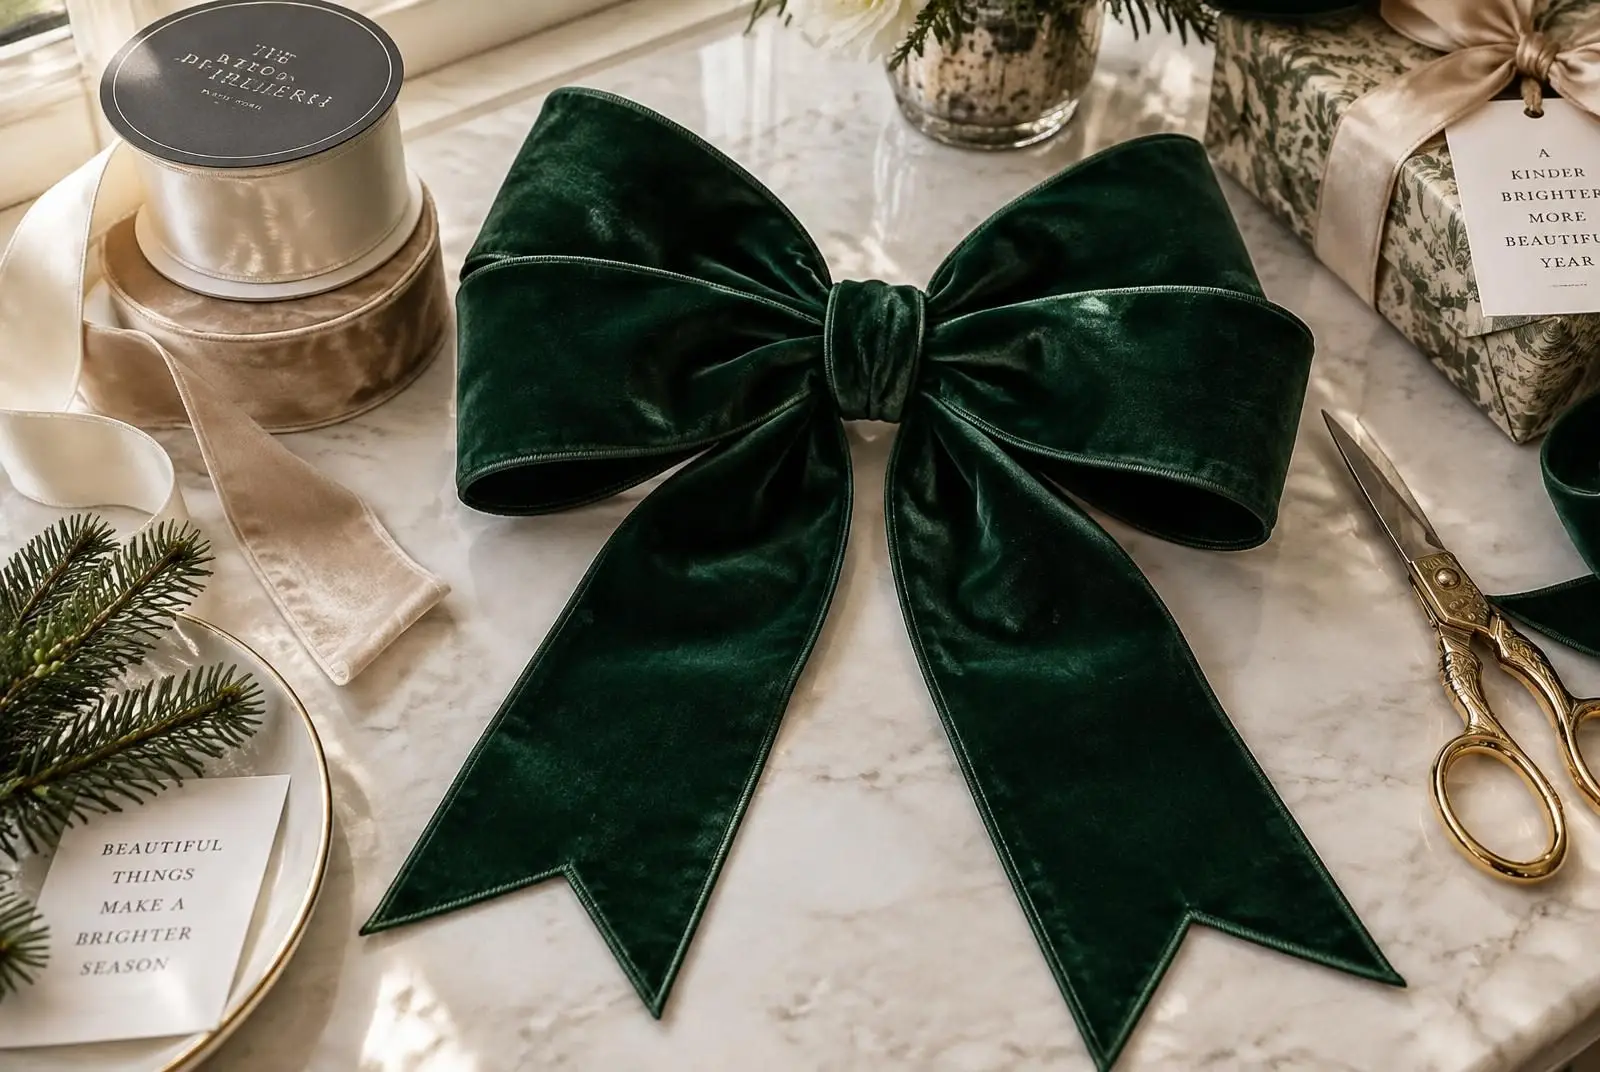
Handmade emerald velvet Christmas bow with ribbon spools and gold scissors

A full, fluffy bow instantly finishes a wreath, tree topper, garland, or gift. This method works with any wired ribbon.

Supplies

  • Wired ribbon, 2.5″–4″ wide (about 3–4 yards per large bow)
  • Floral wire or a pipe cleaner
  • Sharp scissors

Step 1: Make the Center Loop

Leave a tail about 12–18 inches long. Make a small loop around your thumb, with the pretty side of the ribbon facing out. This becomes the center of the bow.

Step 2: Add Loops

Pinch the ribbon under your thumb and make a loop on one side, twisting the ribbon a half-turn at the center each time so the good side always faces out. Repeat on the other side. Make 3–4 loops per side, slightly larger each time.

Step 3: Secure

Slide floral wire through the center loop, wrap it around the pinched middle, and twist tightly at the back. Leave the wire ends long for attaching the bow.

Step 4: Cut the Tails

Cut the second tail to match the first. Fold each end lengthwise and cut at an angle for a V-notch, or cut a simple diagonal.

Step 5: Fluff and Shape

Pull each loop open and pinch the wired edges to shape them. Arrange loops so they fill a full circle.

Variations

  • Layered bow: hold two ribbons together—a wide plain one with a narrower patterned one on top.
  • Bow with streamers: make the tails 1–2 yards long to cascade down a tree or door.

Use Your Bow

Top a DIY wreath, crown your Christmas tree, or decorate a mantel garland. Find ribbon and accents in our Christmas shop.

Shop the Look

Find everything you need for this look in the Everything Christmas collection: Christmas Ribbon · Ribbon & Bows · DIY Craft Supplies.

Posted on — Leave a comment

Christmas Decorating Themes: Traditional, Scandinavian, Modern Glam and Rustic

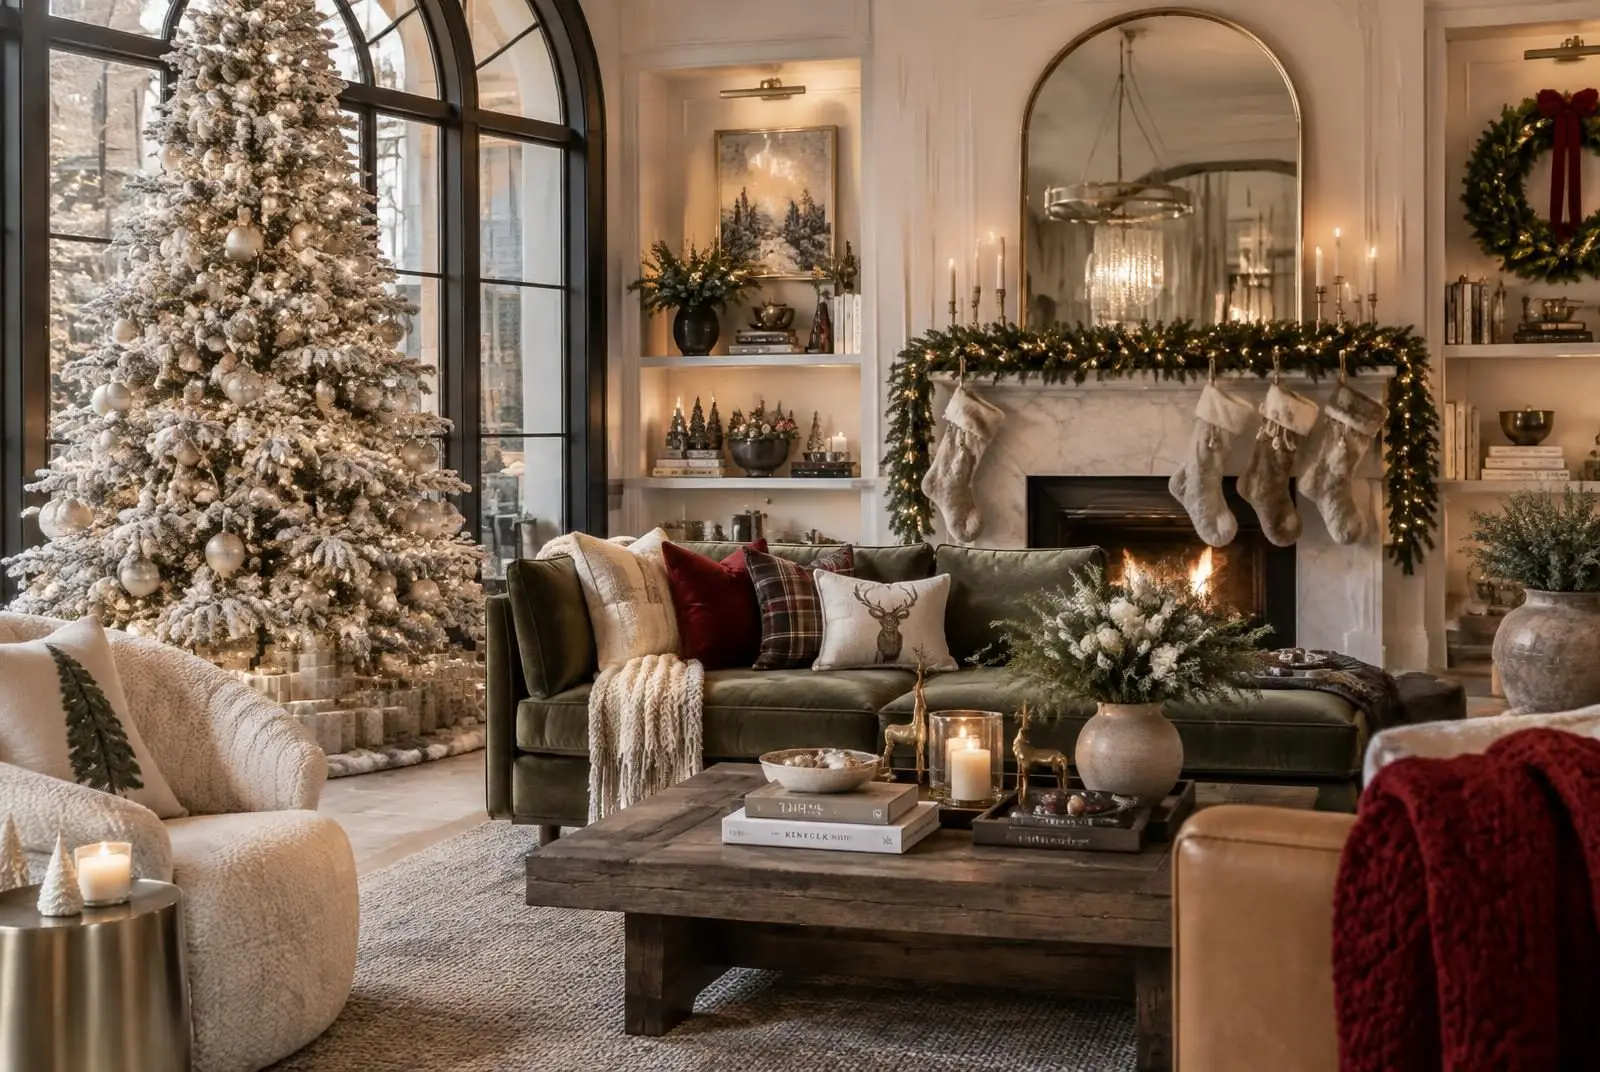
Living room with flocked Christmas tree showing elegant holiday decorating themes

Picking a theme makes every decorating decision easier. Here are four popular Christmas styles and what defines each one.

Traditional

  • Colors: red, green, gold
  • Materials: plaid, velvet, brass, glass ornaments
  • Key pieces: full garlands, velvet bows, classic stockings, nutcrackers
  • Best for: homes with warm wood, fireplaces, and family heirlooms

Scandinavian (Nordic)

  • Colors: white, cream, natural wood, soft gray, a touch of red
  • Materials: wood, wool, felt, paper stars, natural greenery
  • Key pieces: sparse trees, wooden ornaments, candle light, simple wreaths
  • Best for: minimal, bright spaces and anyone who prefers less clutter

Modern Glam

  • Colors: champagne, blush, silver, white, black accents
  • Materials: mirrored and metallic ornaments, velvet, sequins, glass
  • Key pieces: flocked or white trees, oversized ornaments, metallic ribbon
  • Best for: contemporary homes and statement entryways

Rustic Farmhouse

  • Colors: cream, sage, burlap tan, black
  • Materials: burlap, buffalo check, galvanized metal, pinecones
  • Key pieces: wood signs, berry garlands, lanterns, grapevine wreaths
  • Best for: cozy, casual homes and porches

How to Choose

  1. Look at your existing furniture and finishes—work with them, not against them.
  2. Pick one theme for main rooms; kids’ rooms and kitchens can be more playful.
  3. Keep to two or three colors plus one metallic.

Bring It Together

Apply your theme with our guides to decorating a Christmas tree, styling a mantel, and building a color palette, then browse our Christmas shop.

Shop the Look

Find everything you need for this look in the Everything Christmas collection: Christmas Ornaments · Christmas Ribbon · Christmas Trees.

Posted on — Leave a comment

How to Decorate a Christmas Tree Step by Step (Like a Designer)

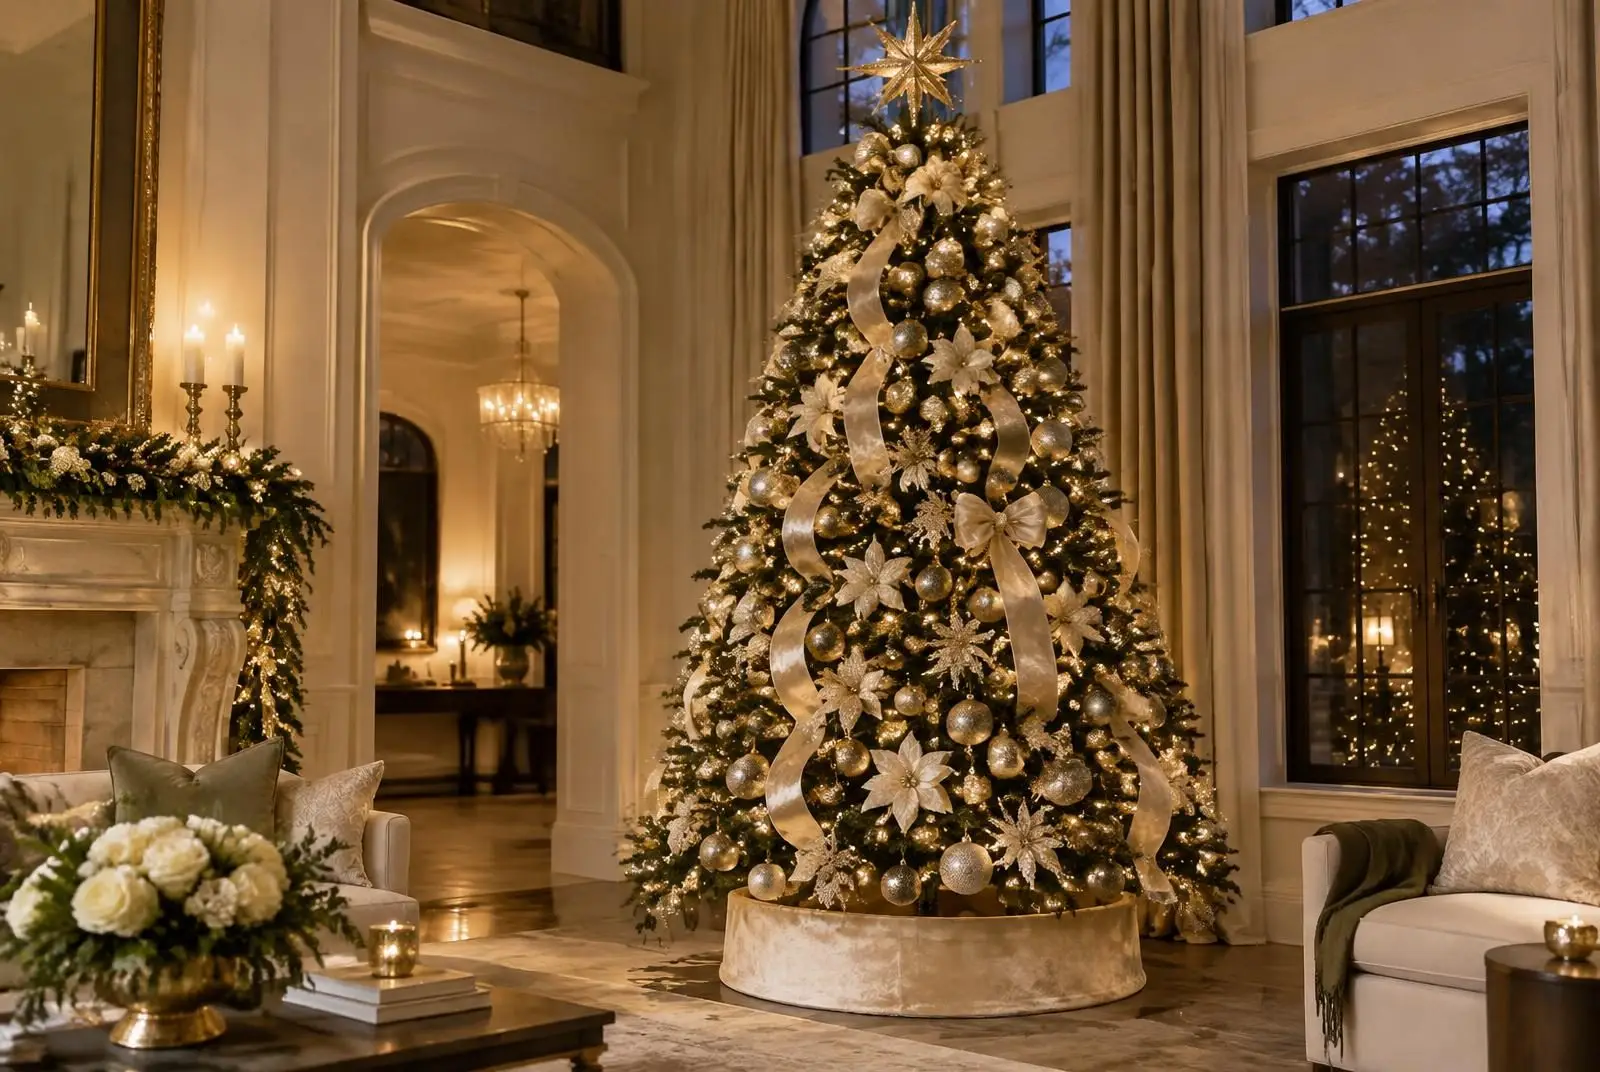
Designer Christmas tree decorated with champagne ribbon, gold ornaments and star topper

A balanced Christmas tree starts with a plan and a little space between decorating layers. Shape the tree first, check its lights, then add ribbon and ornaments in passes. Work with the decorations you already love, and fill specific gaps only after you can see what is missing.

Start with the room and the tree’s dimensions

Measure the available floor space and ceiling height, allowing room for the stand and topper. Keep walkways and exits clear. A tree that fits comfortably is easier to decorate and enjoy than one squeezed into a corner.

Decide which sides will be visible. A tree in a window may be seen from outside as well as inside; a corner tree may need more attention on its front and sides. Sort your decorations on a nearby table so you can see the available colors, sizes and attachment types.

Choose a palette without replacing everything

Pick two main colors and a smaller accent color from your existing collection. Red and green with gold is traditional; ivory and champagne is softer. Repeating a finish or texture can tie together ornaments in different colors. Sentimental decorations can stay in the display even when they do not match perfectly.

Set a few ornaments beside your ribbon before starting. Check them under the room’s evening lighting, when the tree will often be enjoyed.

1. Assemble and shape the tree

Follow the tree manufacturer’s assembly instructions and check that the stand is stable. For an artificial tree, work through the sections methodically, separating compressed branches and angling the tips to fill spaces. Look into the tree as well as at its outer edge. Avoid bending hinges, wiring or components beyond their intended movement.

If you use a real tree, follow its care instructions and maintain its water supply. Arrange any collar that cannot open around the stand before decorating, while keeping access for watering and electrical connections.

2. Check lights before adding decorations

Inspect the lights for damage, follow their indoor or outdoor rating, and obey the manufacturer’s connection limits. Do not calculate electrical capacity from a decorating rule such as a fixed number of bulbs per foot of tree. For a pre-lit tree, follow the tree’s own instructions before adding another light set.

Briefly check the lit appearance, then turn off and unplug the lights before adjusting them. Aim for even coverage through the visible depth of the tree rather than a bright band around the outside. Keep connections accessible and avoid trapping cords under the stand or decorations.

3. Add ribbon or garland

Ribbon goes in more easily before most ornaments because you can reach the supporting branches. Start with a small test section and repeat the shape you like. Soft vertical cascades, short tucked sections and a loose diagonal wrap produce different effects; choose one main approach before combining styles.

Attach decorative ties to branches, away from wiring and light sockets. Leave greenery visible between sections so the ribbon adds movement without concealing the tree.

4. Place ornaments in three passes

  1. Build depth: place some larger ornaments farther into the visible branches, using supports strong enough for their weight.
  2. Distribute color: add medium ornaments across the tree, checking that a single color is not concentrated in one patch.
  3. Highlight favorites: put distinctive ornaments where you can see them clearly, without letting them collide with nearby pieces.

Place heavier ornaments on stronger branches close to their support. Keep fragile, sharp or small detachable decorations out of reach of children and pets. An outer branch tip is not automatically a suitable place for a delicate or heavy ornament.

5. Use picks to connect the layers

Floral picks and sprays can soften gaps between ribbon and ornaments. Start with a few, angle them along the tree’s shape and secure them to supporting branches where needed. Avoid pushing sharp stem ends into electrical parts. Check the listing dimensions before buying: a stem that looks modest in a photograph may be too large for your tree.

6. Fit the topper and finish the base

Check the topper’s weight and attachment instructions. The top branch must be able to support it without leaning; use a compatible support if the manufacturer recommends one. Use a stable step stool and ask for help rather than reaching across the tree from furniture.

Arrange a skirt or compatible collar around the stand while leaving plugs, controls and any water reservoir accessible. Keep fabric clear of heat sources.

7. Review the tree from the room’s entrance

Take a photo from the normal viewing position. A photo can make crowded areas and uneven color easier to spot. Move a few ornaments before buying more. If the tree feels busy, remove a small group and reassess; if it looks sparse, shape the surrounding branches before adding another layer.

Quick fixes for an uneven finish

  • A dark area: check the lights and branch arrangement before hiding it with ornaments.
  • A leaning topper: reassess its support and weight.
  • Ribbon dominates: reduce sections or tuck them deeper.
  • Ornaments disappear: move favorites toward a visible gap and reduce overlapping pieces.
  • Only the front looks finished: check side views from seats, doorways and windows.

Keep the display safe through the season

Keep the tree away from heat sources, never use lit candles on it, and turn off tree lights before leaving home or going to bed. For additional guidance, see the CPSC holiday decoration safety tips.

Keep decorating: tree ribbon techniques · beginner wreath tutorial · step-by-step tree decorating.

Build your Christmas look

Explore Christmas trees, ornaments, ribbon and bows and floral picks. Check measurements and selected variations before adding items to your cart.

Posted on — Leave a comment

Christmas Planning Checklist: A Month-by-Month Holiday Timeline

Christmas planning notebook with gold pen, tea and fir sprigs on marble

Spreading Christmas tasks across a few months makes the season less stressful and usually less expensive. Use this timeline as a starting point and adjust it to your family.

September: Plan and Budget

  • Set a total holiday budget and split it into gifts, decor, food, and travel.
  • Write your gift list.
  • Check last year’s decorations and note what needs replacing (see how to store Christmas decorations).

October: Decide on Decor and Start Gifts

  • Choose this year’s color palette or theme (our color palette guide can help).
  • Order decor early while stock is best.
  • Buy or start making gifts that need time, such as DIY or personalized items.

Early November: Book and Prepare

  • Confirm travel and hosting plans.
  • Order cards and check shipping deadlines.
  • Shop sales events for remaining gifts.

Late November: Decorate

  • Set up the tree, then add ribbon and ornaments.
  • Style the mantel and hang your wreath.
  • Decorate the porch before cold weather sets in.

Early December: Wrap and Send

  • Wrap gifts as they arrive.
  • Mail cards and packages before carrier holiday deadlines.
  • Plan your holiday menu and table decor.

The Week Before Christmas

  • Grocery shop for non-perishables, then fresh items 1–2 days ahead.
  • Set the table the night before.
  • Leave time to relax and enjoy it.

After Christmas

  • Take photos of your decor before taking it down.
  • Note what worked for next year.

Need decor for this year? Browse our Christmas shop.

Shop the Look

Find everything you need for this look in the Everything Christmas collection: Christmas Trees · Christmas Ornaments · Christmas Lights.

Posted on — Leave a comment

How to Store Christmas Decorations: Ornaments, Wreaths, Lights and Garland

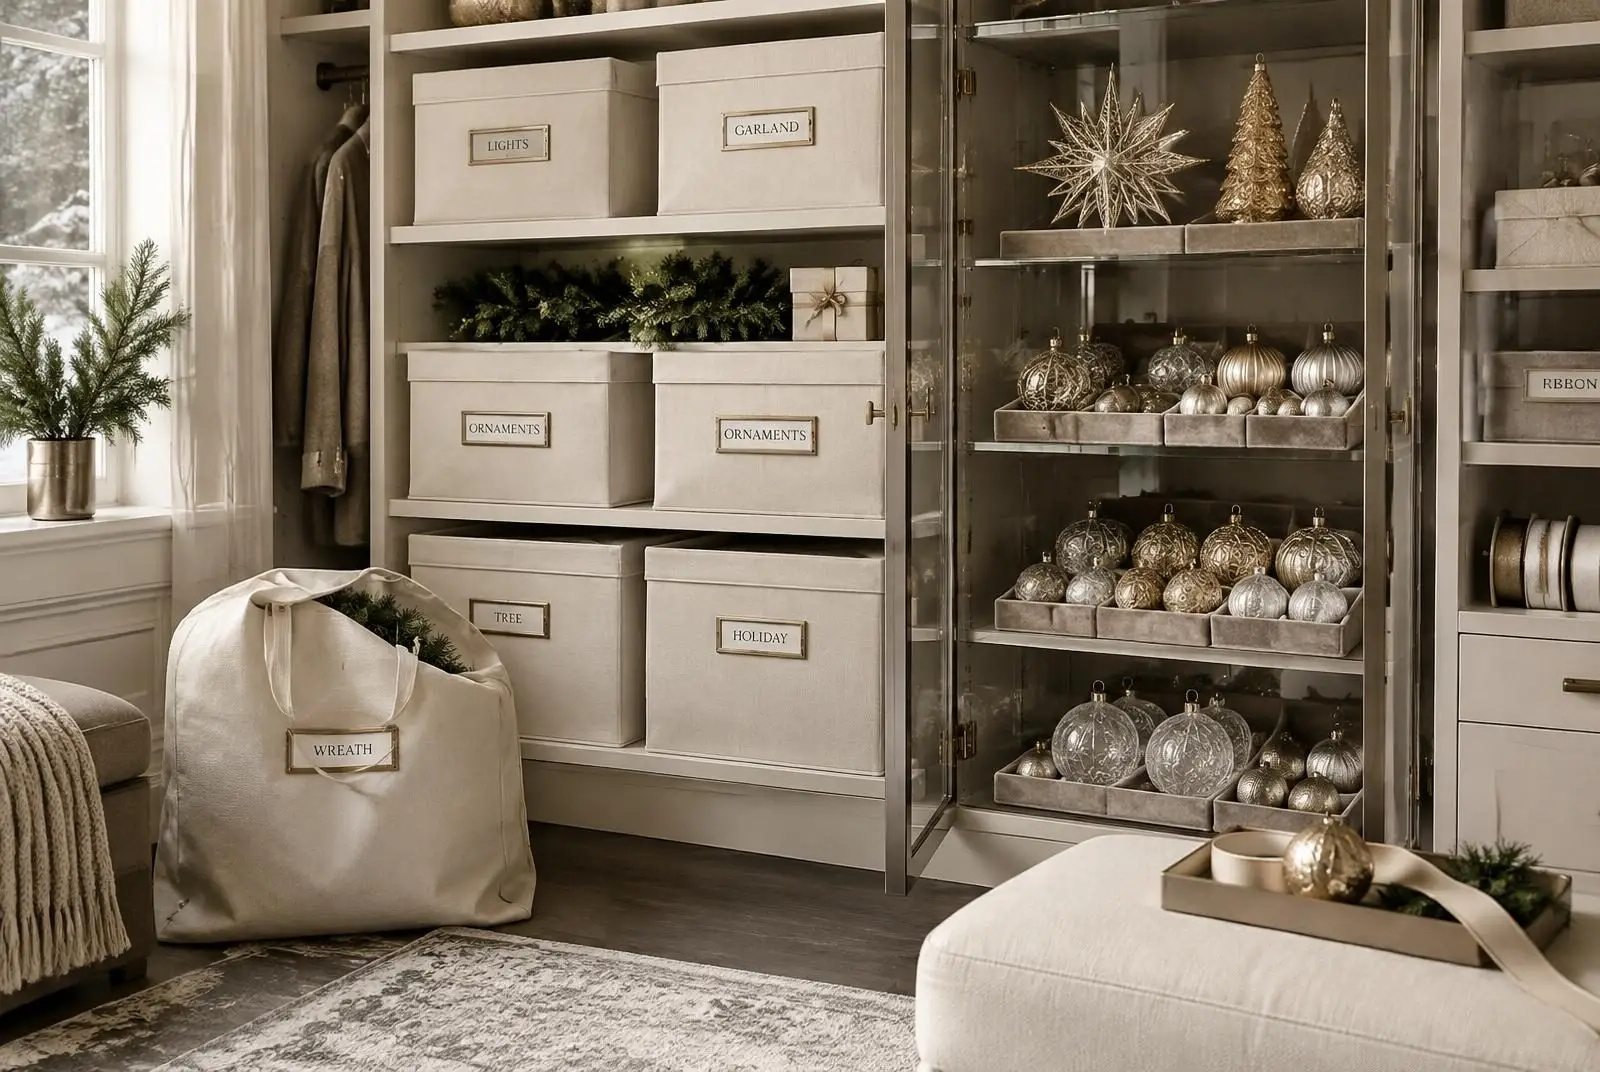
Organized Christmas decoration storage with labeled linen boxes and ornament trays

Good storage saves money—decorations last longer—and saves hours next December. Here is how to pack each type of decoration.

Before You Pack

  • Take a few photos of your decorated tree, mantel, and porch so you can recreate them next year.
  • Sort into keep, donate, and discard.
  • Make a short list of anything broken or missing so you can replace it during post-holiday sales.

Ornaments

  • Use divided ornament boxes, or egg cartons and plastic cups for small pieces.
  • Wrap glass ornaments individually in acid-free tissue paper.
  • Pack heaviest items at the bottom; label boxes by room or theme.

Wreaths

  • Store in a round wreath bag or box so the shape isn’t crushed.
  • Hang them on a hook in a closet if you have space.
  • Remove bows and fluff them back into shape before storing.

Lights

  • Test each strand and discard any with damaged wires.
  • Wrap around a piece of cardboard or a light reel to prevent tangles.
  • Label the strand length and where it was used.

Garland

  • Coil loosely rather than folding to protect the branches.
  • Store in a long bin or garland bag.

Artificial Trees

  • Store in an upright tree bag or the original box, sections labeled.
  • Keep away from heat and humidity to prevent fading and mildew.

Where to Store

A climate-controlled closet or interior room is best. Hot attics and damp basements can melt glue, fade fabric, and warp ribbons.

Make Next Year Easier

Pack the “open first” box last: tree stand, extension cords, hooks, and scissors. Then start planning with our Christmas planning checklist, and replace worn pieces from our Christmas shop.

Shop the Look

Find everything you need for this look in the Everything Christmas collection: Christmas Ornaments · Christmas Trees · Christmas Garlands.

Posted on — Leave a comment

Christmas Table Decorations on a Budget: Easy Holiday Tablescapes

Elegant Christmas dinner table with greenery centerpiece, candles and gold-rimmed china

A memorable Christmas table doesn’t require new dinnerware. Start with what you already have, then add a few inexpensive layers.

Step 1: Pick a Simple Palette

Choose two main colors and one metallic—for example green and white with gold, or red and cream with brass. Everything you add should fit those three.

Step 2: Lay the Base

A plain tablecloth or bare wood table works well. Add a runner down the center; a length of wide ribbon or a folded scarf can stand in for one.

Step 3: Build a Low Centerpiece

Keep the centerpiece below eye level (about 12 inches) so guests can talk across the table.

  • Lay a strip of faux or fresh greenery down the runner.
  • Add flameless candles in varied heights.
  • Tuck in pinecones, ornaments, or clementines for color.

Step 4: Dress Each Place Setting

  • Tie napkins with a short length of ribbon and a sprig of greenery.
  • Use a small ornament with a name tag as a place card and party favor.
  • Stack plates you own; mismatched plates look intentional if the palette is consistent.

Budget Ideas That Look Expensive

  • Gold spray paint on pinecones or thrifted candlesticks
  • Clippings from a tree lot (often free) or your own garden
  • Glass jars with fairy lights
  • Leftover ribbon from your tree decorating

Kids’ Table Tip

Use kraft paper as a tablecloth with crayons so children can decorate their own place settings.

Related Guides

Coordinate the table with your mantel and indoor decor, or find accents in our Christmas shop.

Shop the Look

Find everything you need for this look in the Everything Christmas collection: Table Decorations · Floral Picks · Christmas Ribbon.

Posted on — Leave a comment

Christmas Gift Guide for Home Decor Lovers: Ideas by Budget

Christmas gifts wrapped in emerald, ivory and gold with velvet bows

People who love decorating are surprisingly hard to buy for—they have a clear style and usually own the basics. These ideas focus on pieces that add to a collection rather than duplicate it.

Tips Before You Shop

  • Look at their colors. Notice whether their home leans warm (gold, red, wood) or cool (silver, white, blue) and stay in that family.
  • Choose consumables or keepsakes. Candles, ribbon, and ornaments are easy to use; heirloom pieces become traditions.
  • Include a gift receipt for anything large or style-specific.

Under $25

  • A statement ornament in their palette
  • Rolls of luxury wired ribbon for wrapping and tree styling
  • Flameless LED taper candles
  • A set of ornament hooks and storage tissue (a practical gift decorators appreciate)

$25–$75

  • A tree topper or a set of coordinating ornaments
  • A pre-made wreath, or a DIY wreath kit with a copy of our wreath tutorial
  • A table runner and napkin set for holiday dinners
  • Stockings or a stocking holder set

$75 and Up

  • A full mantel garland with lights
  • Outdoor porch decor such as lanterns or planters
  • A complete themed decor bundle for a room

Experience Gifts

  • Offer to help them decorate (and take down) their tree
  • A local wreath-making workshop

Gifts for Specific Decorators

Shop Everything Christmas

Browse ornaments, garlands, and accents in our Christmas shop, or see our earlier premium gift guide.

Shop the Look

Find everything you need for this look in the Everything Christmas collection: Christmas Gifts · Christmas Ornaments · Christmas Wreaths.